
Pizza Dough/Crust Recipe
Ingredients (Makes one 14-inch pie; 1/4 to 3/8 inch thick)
| 350 | grams | Bread Flour | King Arthur Brand or equivalent (Must be high protein content, 12% or higher, not All Purpose Flour) |
| 7.0 | grams | Vital Wheat Gluten | Diastatic malt was used in the original recipe. The malt enzymes build the gluten structure. Direct addition of Vital Wheat Gluten is a more controllable means to this end. |
| 7.0 | grams | Salt | Sea Salt or your choice |
| 220 | grams | Water | Adjust by +/- 5 grams; 215 grams mid-late summer; 225 grams mid-late winter (see Tip #1) |
| 2.0 | grams | Instant Dry Yeast | LeSaffre Saf-Instant (Red Label) preferred; if using Active Dry Yeast it may require slightly more |
| 2 | tsp | Extra Virgin Olive Oil | Liquid measure is easier; equivalent to approximately 12 grams. |
Directions (Takes about 30 minutes)
Click Images To Enlarge
 |
Thoroughly mix bread flour, salt, and vital wheat gluten in the stand mixer bowl. |
 |
In a separate, microwavable bowl weigh out the water. Microwave the water for 25-30 seconds; just enough to make it warm, not hot (i.e. 95-105 degrees F). Add the yeast to the warm water and stir to completely dissolve. Allow yeast to activate for 5-10 minutes. (see Tip #2) |
 |
Add dissolved yeast to the dry ingredients and start mixing on low with the mixer dough hook. Be patient and DO NOT attempt to "adjust" the mix with more flour or water. |
 |
The flour will slowly hydrate and mix with the water. As it mixes the dough ball will start to form and the flour on the outside of the bowl will dampen. When all the flour is damp, but still stringy and clumpy, stop the mixer. (Click on the picture to see the proper stopping point.) |
| Scrape the sides of the bowl down to the bottom. Add two teaspoons EVOO (aka olive oil). Restart the mixer working up to medium speed. Continue mixing until the dough becomes a single ball and clears the sides of the bowl. About 5 minutes. (see Tip#3) | |
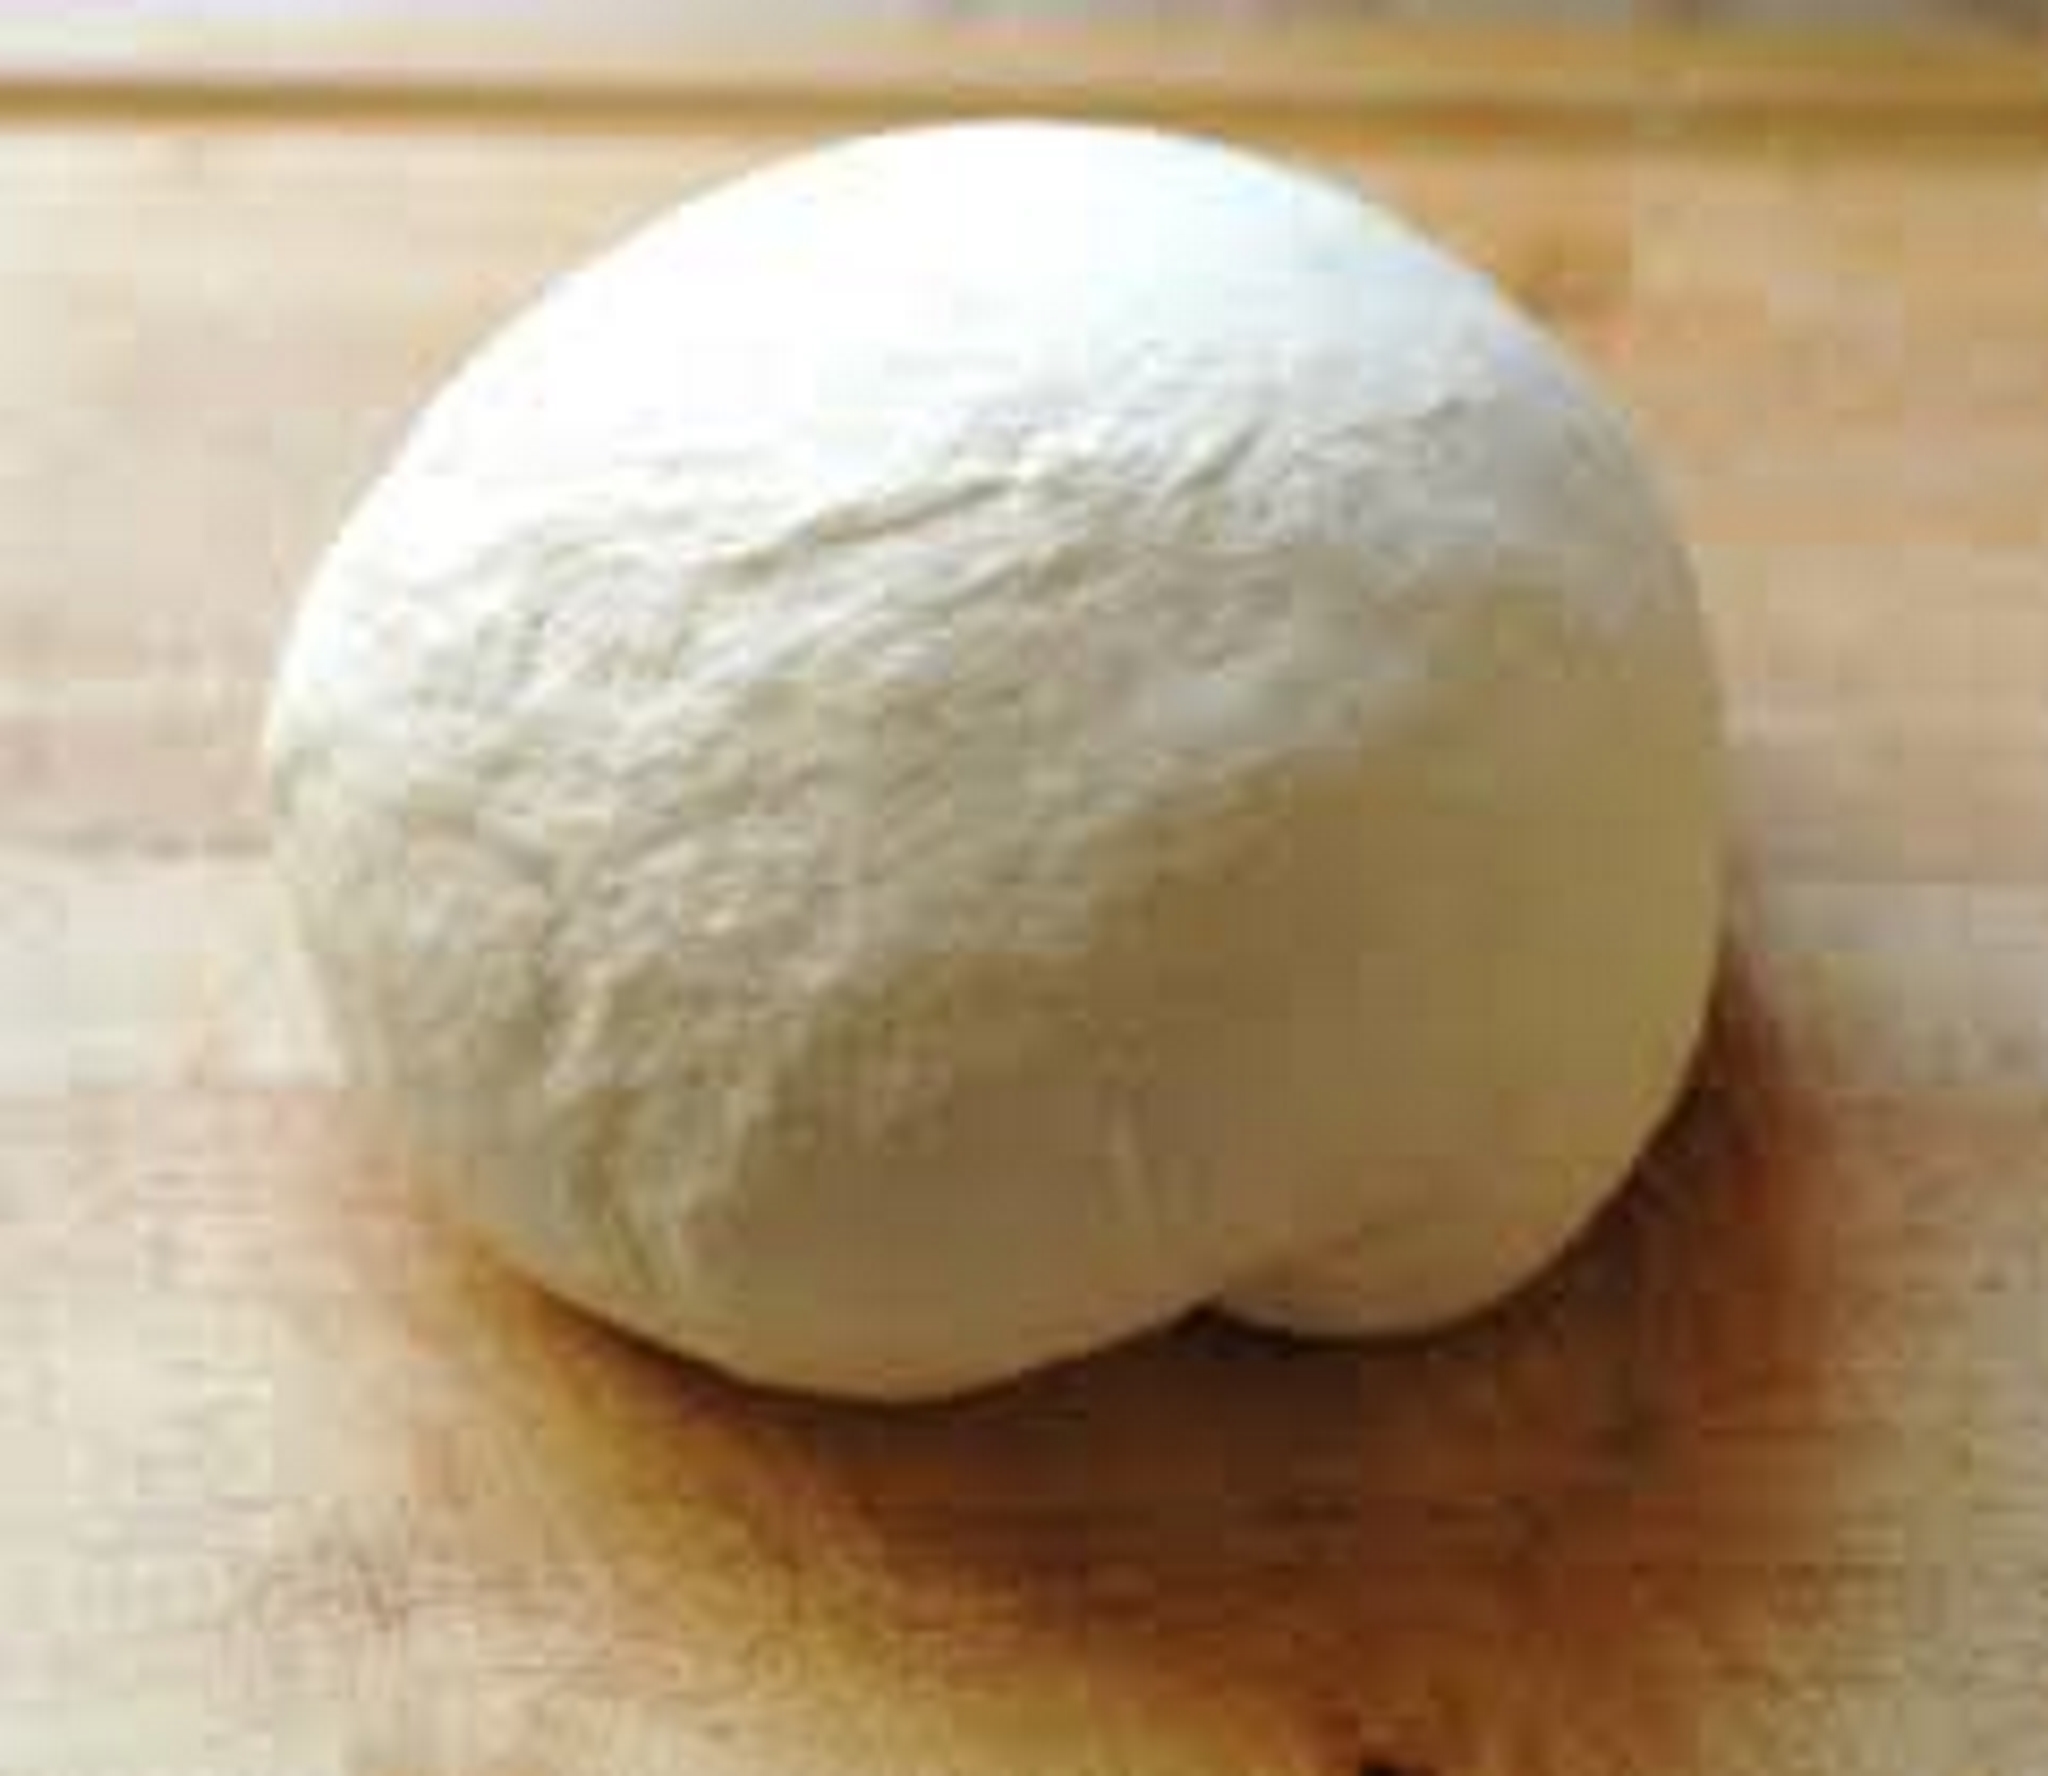 |
Stop the mixer and remove the dough from the dough hook. Hand knead for a minute or two. Do the kneading on a clean, dry surface without additional flour. The dough ball at this point should be uniform, elastic, and slightly sticky. (see Tip #4) |
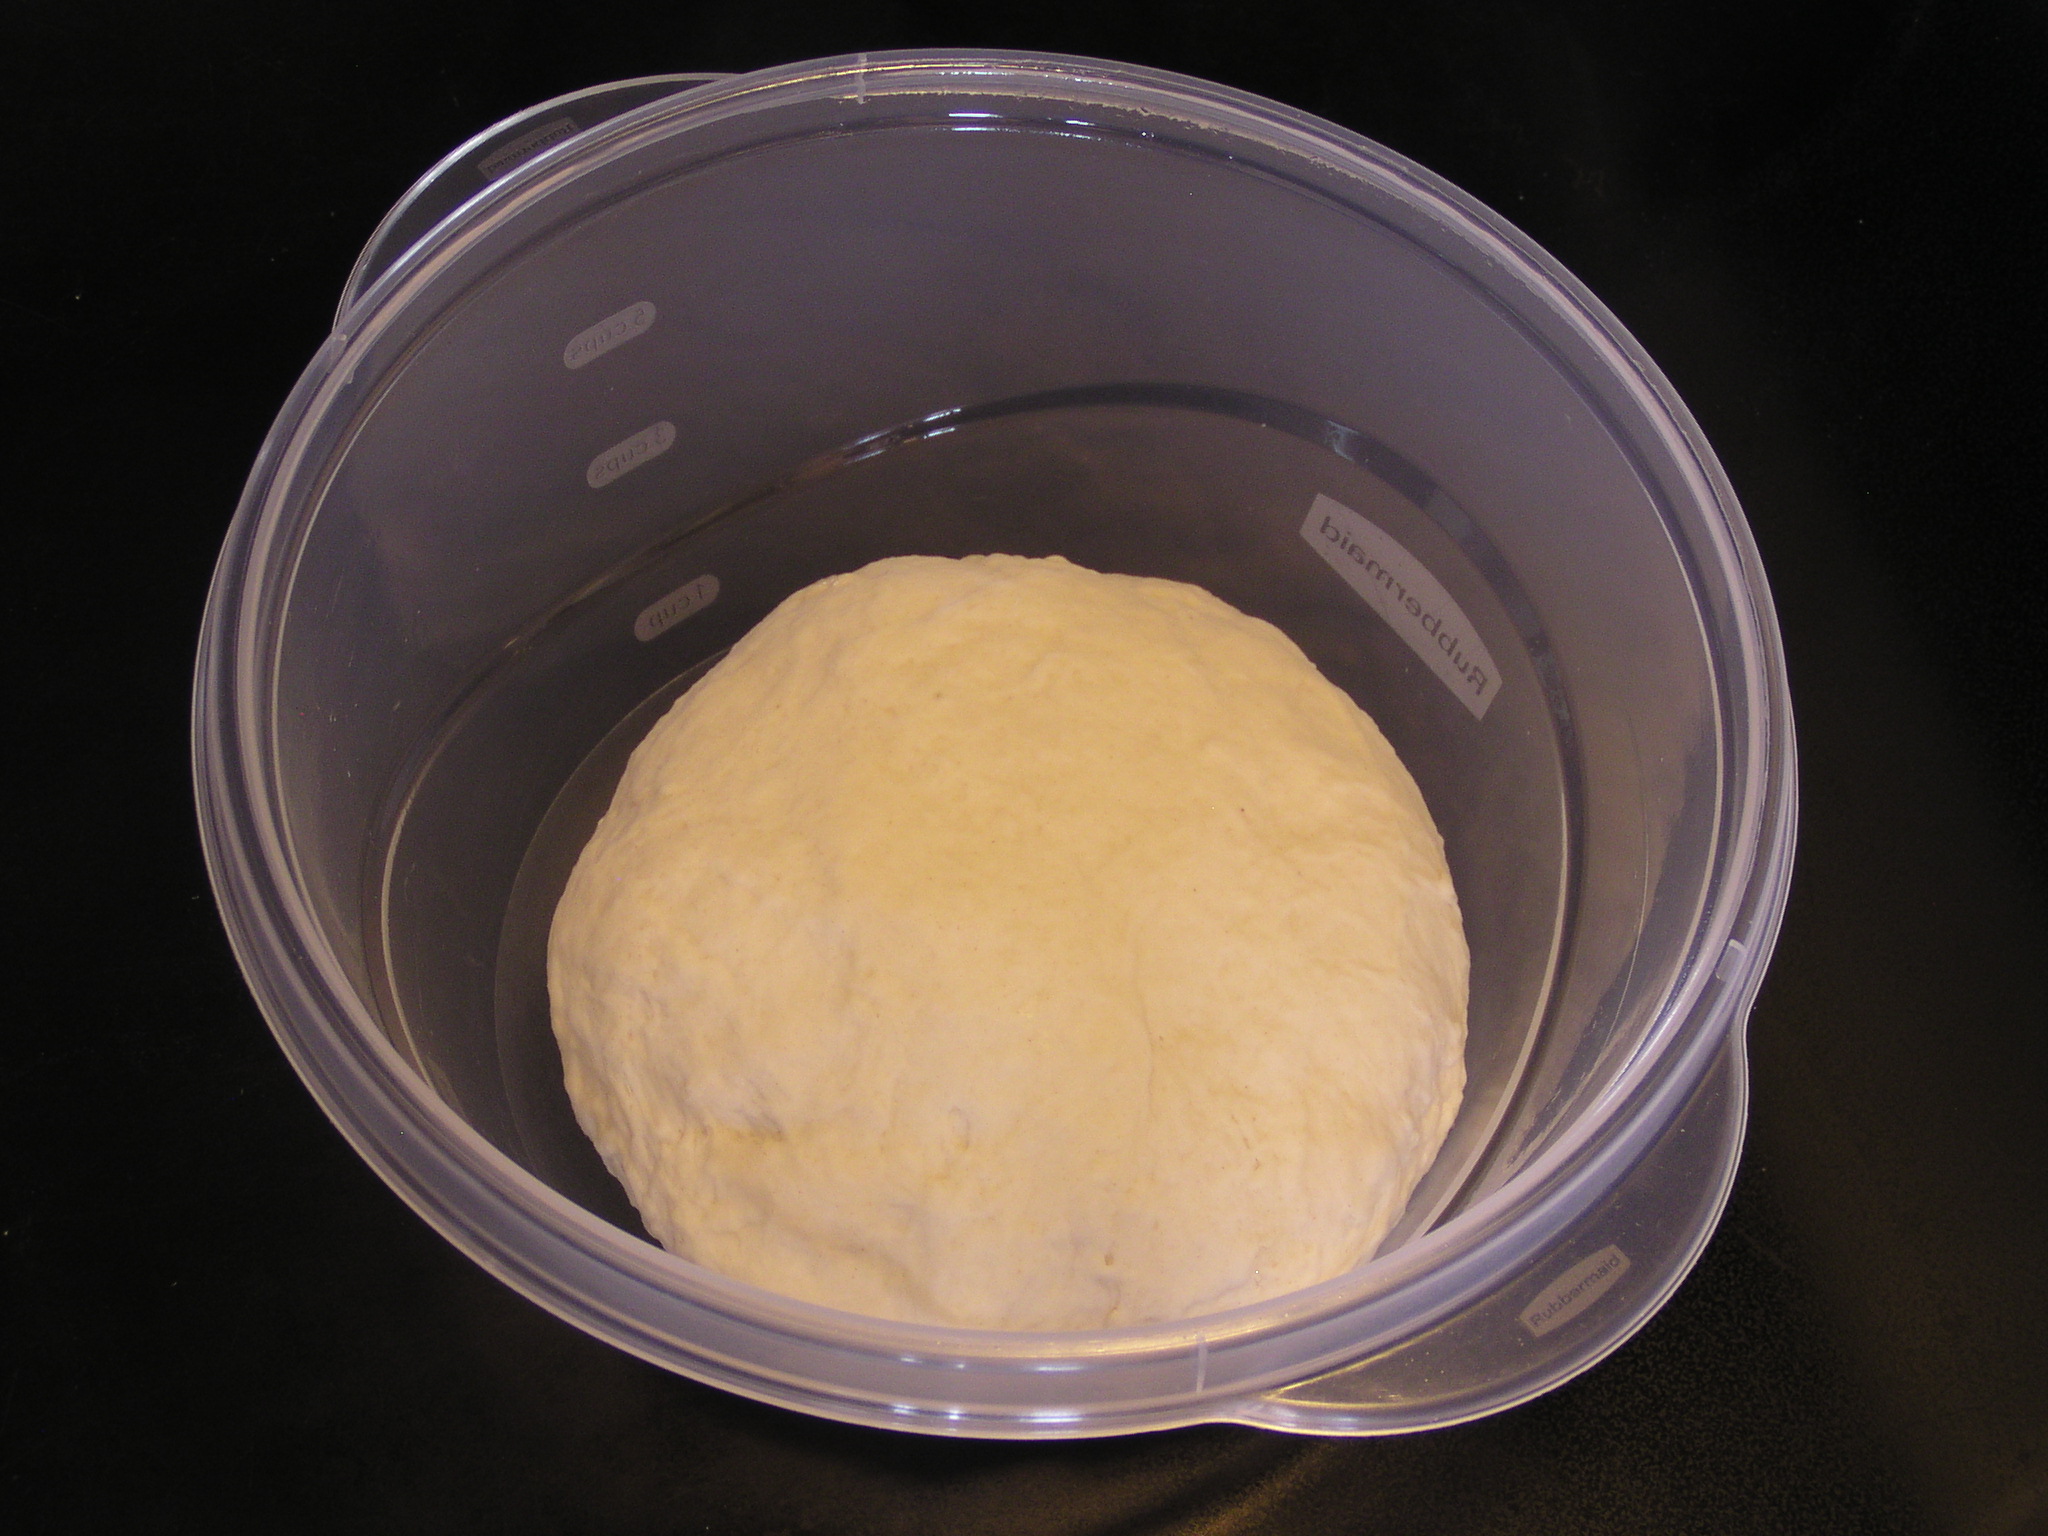 |
Form the dough into a smooth, uniform ball pinching any folds together. Flatten slightly and place the ball into an oiled (i.e. spray with PAM) sealable container. This is your dough bucket (see the Equipment page). Allow the dough to rest 15-20 minutes at room temperature and then refrigerate (@ 38 degrees F) for 3 days. |
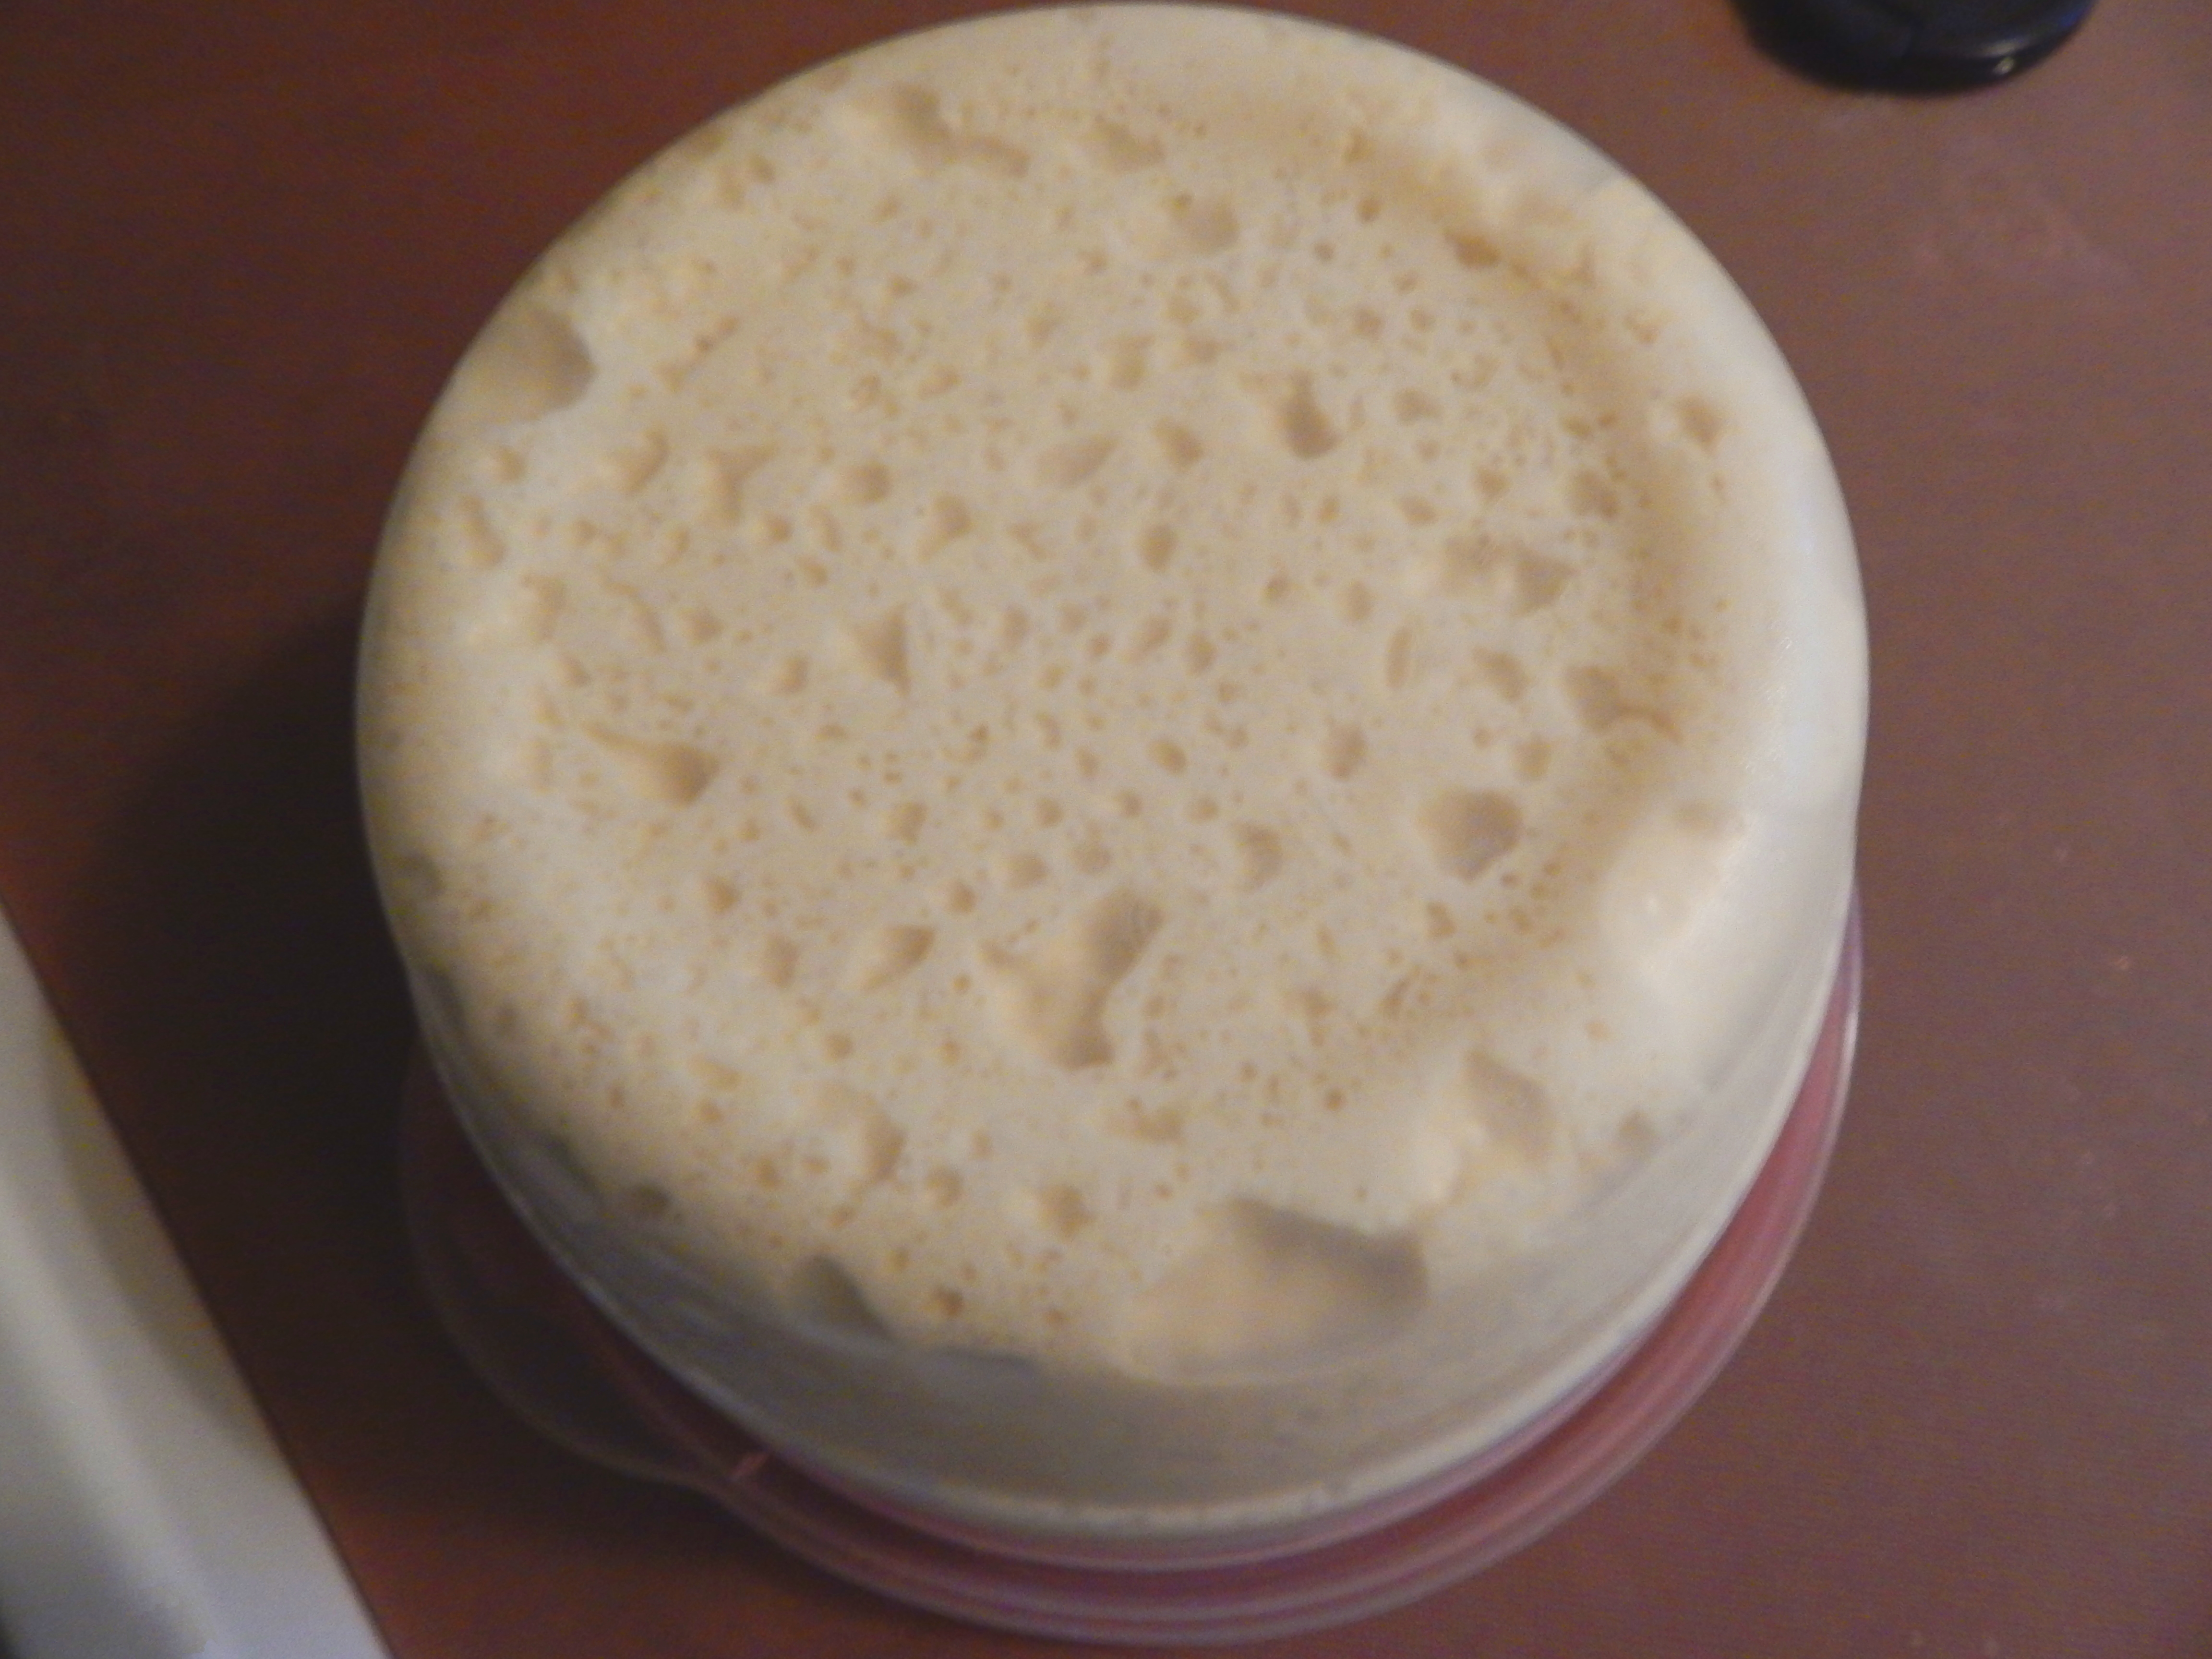 |
CHECK YOUR WORK! Even refrigerated your dough should show some rise after as little as four hours. After 24 hours you should see a considerable amount of yeast CO2 production (bubbles). If your dough bucket is clear you can take a look at the bubbles trapped under the dough ball. The picture on the left is typical of what you should see on the bottom after 48 hours. Pinch and deflate any large bubbles that form on the top of the dough ball. This makes it easier to stretch out the pie later on. |